Box Clipping: a Beginner’s Guide
Although aimed at beginners, seasoned old pros should find something useful here too, and at the very least enjoy tut-tutting and disagreeing, for the first rule of box clipping is there are no rules in box clipping.
Let’s break this down into a few big generalisations.
Left to itself, box, here in the UK at least, has a short sharp growth spurt during April and May, and then tends to pretty much stop growing during the summer. The moment you start meddling with it though, that changes a bit. Clipping provokes a second flush, especially in a wet summer. So the most basic instruction is to clip some time in June, once the growth has stopped (but while the growth is still soft, which is how you get the amazing, super smooth finish). Over the summer, depending on the weather and the state of the box (older = slower) you may or may not get a second flush, which can be clipped off in September or October. Stick to that – an early summer clip with an autumn tidy up – and you’ll be ok.
Or…
Or, let’s say you missed a year, and it’s March or April and the box needs a clip. Fine – clip it, although not the day before heavy frost if you can help it. You’ll find the new growth slightly slower to materialise, but by June it should have caught up. Or let’s say you like the new growth, and would rather keep the slightly shaggy look over the summer. That’s fine too – leave it. But if you leave it year after year, you’ll lose the shape and the sweet little box ball you had planned will have ballooned into a monster. So, in that case, leave it in June, but clip it in September. Much like you would with yew.
A lot comes down to scale. Smaller shapes, which by their nature also tend to be younger plants and therefore more vigorous, tend to need clipping more. A small box ball, or cone for example, soon loses its shape. With larger shapes and hedges, it’s less crucial, as the shape is implied as much through scale as by precision. Like it says at the top, there are no rules.
How much to clip?
This depends on whether the plant has reached its established size and shape. If it has, then clip all the new growth, right back to the framework of the previous year (allowing for bad bits and mistakes – filling in gaps or taking off a bit more if necessary). How about encouraging a small plant to get bigger, but also keeping it clipped and looking nice? Simple: the light clip. Rather than clipping two or three inches off, just whizz over the the tips, so you create the sense of the shape you want, letting the plant expand as well. It won’t be as dense as you’d like, but you gain the size.
How to clip?
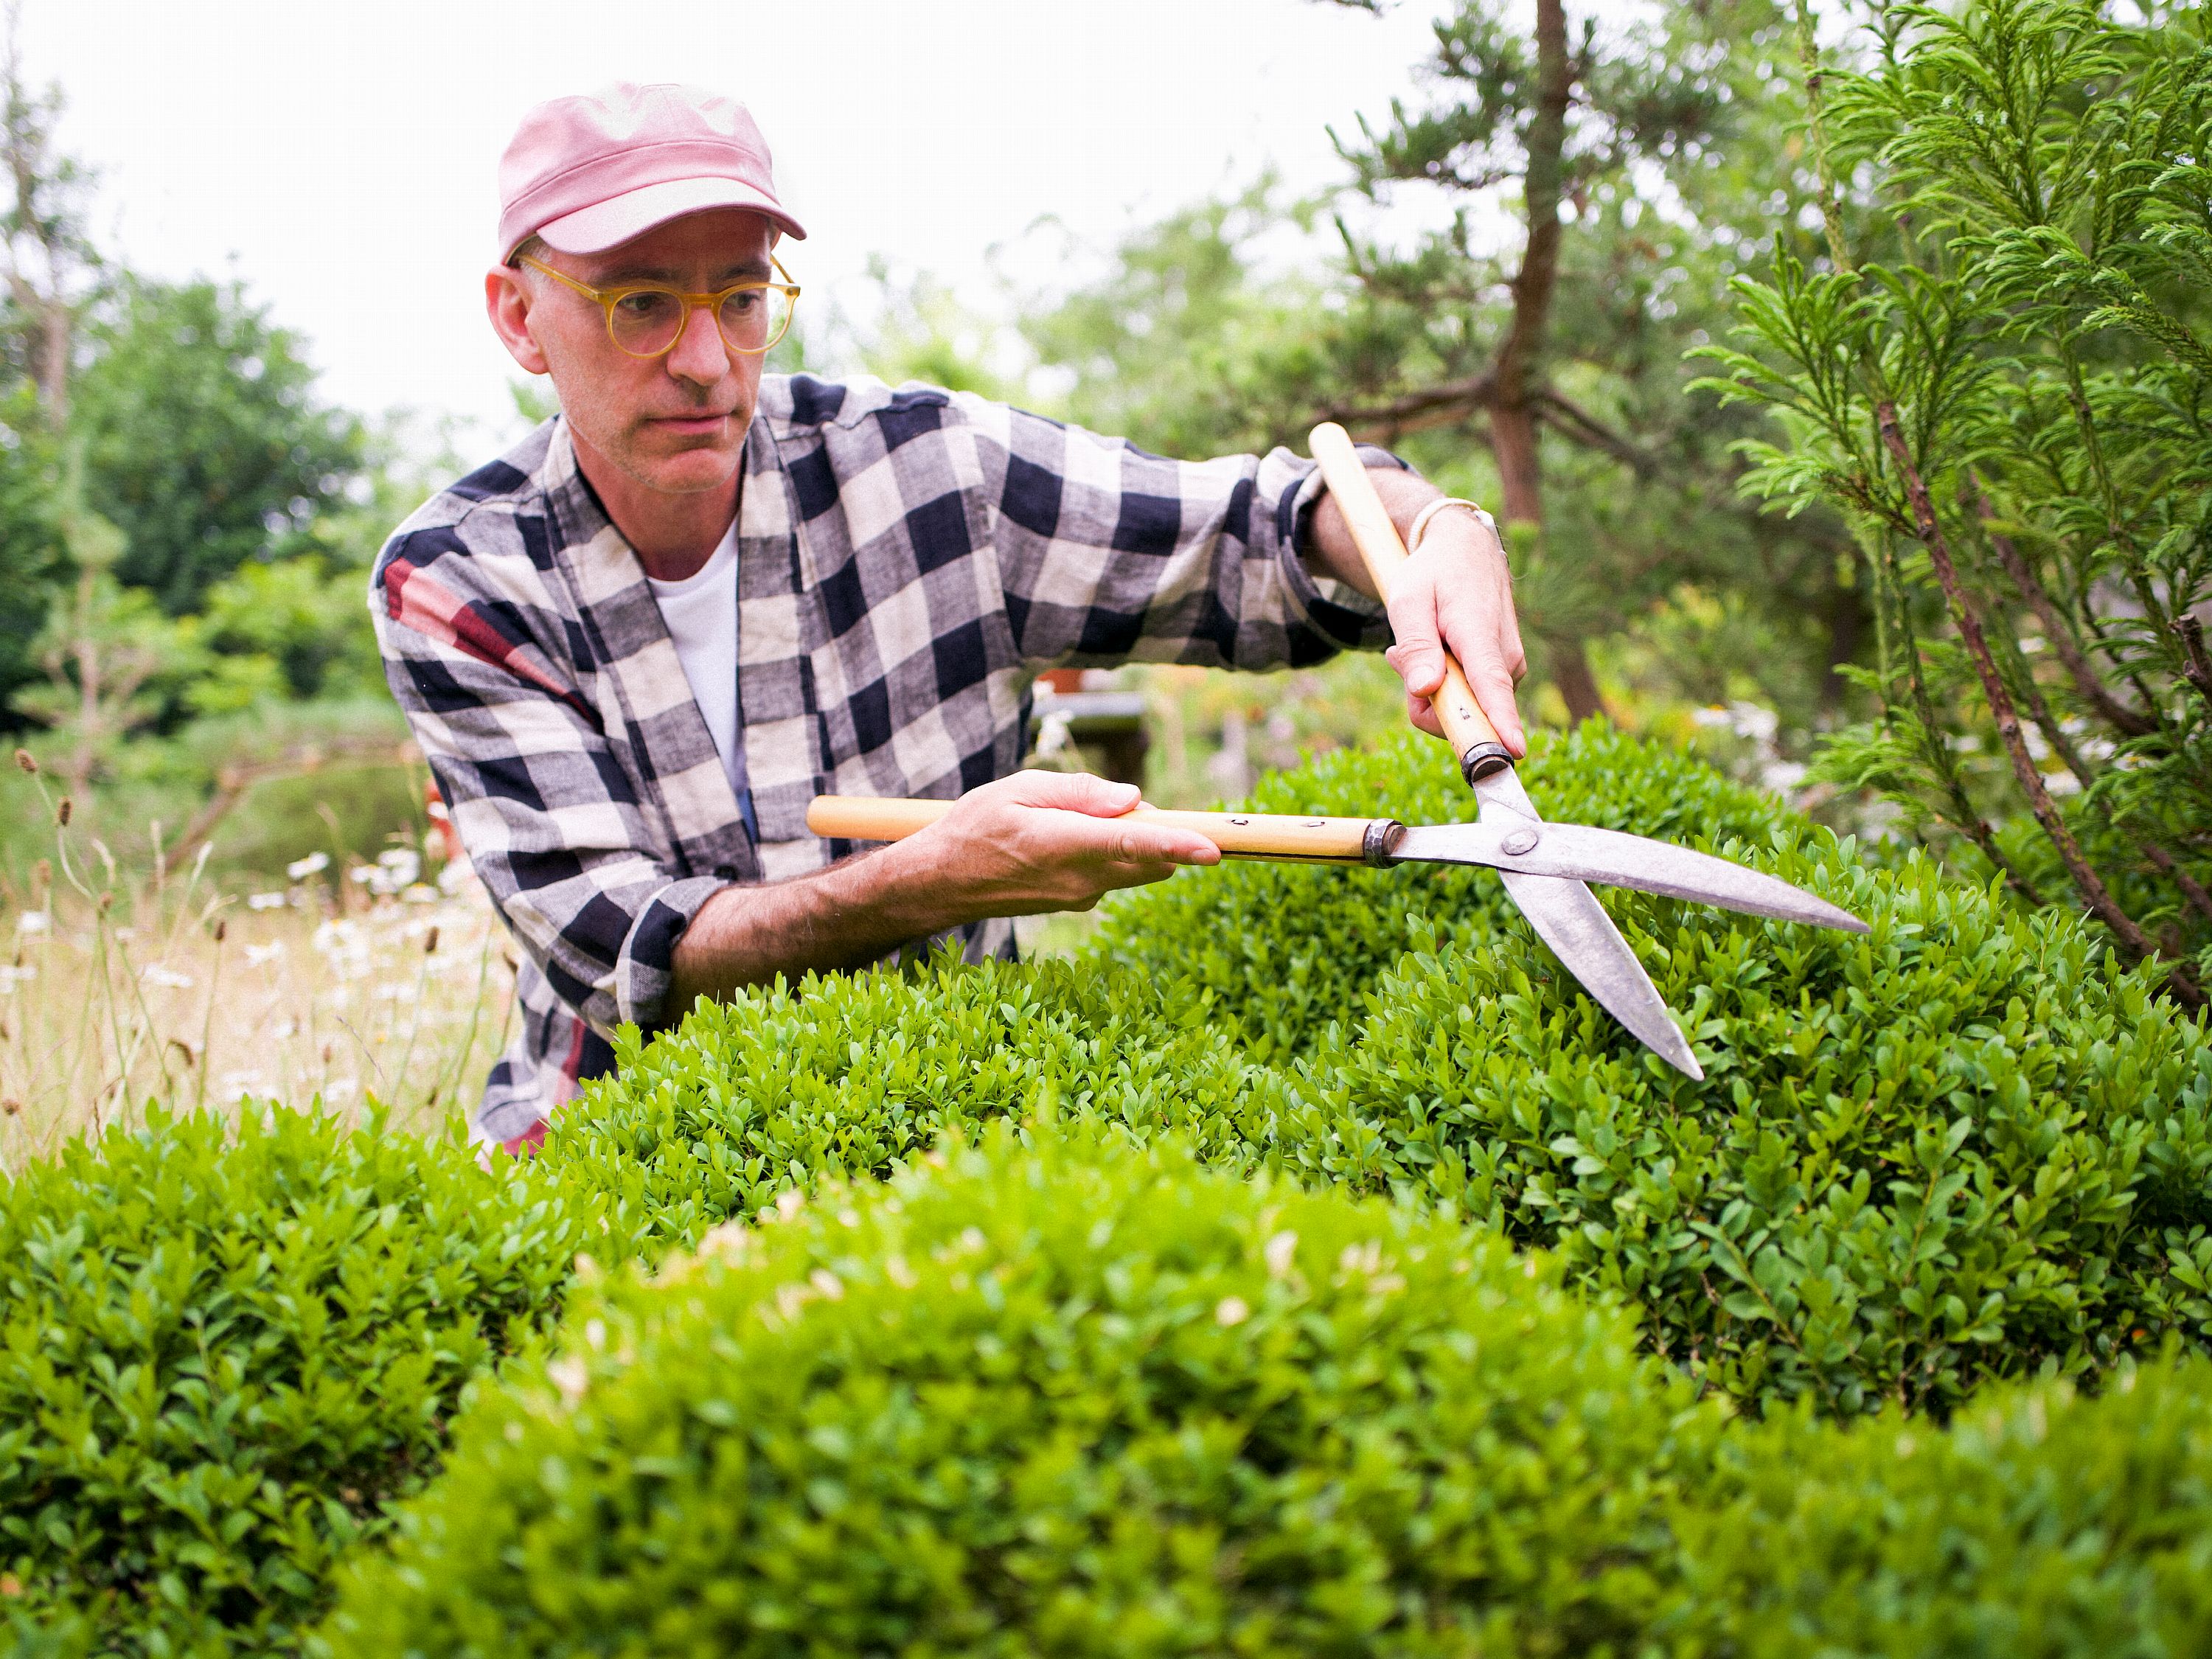
Aha! This is very personal, and hard to describe. First of all, almost always, I use shears, not a hedge cutter. I’ll explain why later. Having made that choice, I then try to imagine I’m a machine, setting myself to an automatic mode, rather like a CAD designed laser cutter. I programme in a shape, and imagine, feel, that shape. I work quickly (clips per minute) moving smoothly back and forwards across the plane, not removing the blades from contact. Imagine a plasterer plastering a wall – they don’t dab a bit here, a bit there, they arc in smooth, fluid gestures. So it’s a curious combination of free-form artistry with disciplined automation. On box balls, I tend to clip around the Tropic of Cancer first, then fill in the Arctic Circle, before working down towards the Equator. But sometimes I do the Hot Cross Bun, dividing it up into quarters and then filling in the gaps. It depends on size, and access. If you can move the whole way around a shape that makes it easier, but if it is in a busy border and only approachable from the front, you have to be more flexible and improvise a bit.
What to clip with?
Shears, always shears. Two-handled shears for larger shapes, one-handled clippers for smaller ones. I use the Niwaki Topiary Shears as my default for box clipping, but you’d get by fine with Niwaki Garden Shears, and of course would love the Karikomi or Tobisho’s with their incredible curved blades. In fact most shears will do, but Japanese ones have better balance and usually are better made, with higher quality steel. For more detailed work I whip out the GR Pro Topiary Clippers, but anything else one-handed and sharp will do.
What about a hedge cutter?
NO. I find that mechanical hedge cutters do three things badly. 1. They’re much too quick, and if you make a mistake it’s often too late to rectify. 2. Because they’re so quick, you tend to be too easily satisfied (I am, at least) and settle for a poor finish. One particular problem is the temptation to glide over a shape, rather than cut into it, so if there’s a bulge that really ought to be cut back, the hedge cutter tends to glide over it, compounding the problem rather than solving it. 3. Unless they’re really sharp, the blades have a tendency to snag and tear the leaves rather than cut them cleanly. You only notice this days later once the cuts have dried out and you see lots of dry, light brown half-cut bits of foliage hanging on. 4. I know I said 3, but they’re also heavy, and noisy.
Photo by Val Corbett
Other stuff worth knowing
There’s all sorts of other stuff worth knowing – keeping your shears clean and sharp, how important it is to clear up after yourself, sensible tips like using ground sheets on gravel, that sort of stuff. The main thing though, is not to worry too much, and to treat clipping as part of your garden routine and schedule, rather than some strange, once-yearly thing that is disconnected to what you do the rest of the time. Don’t fret over timing, don’t worry if you chop a bit too much off, and above all don’t try and be too clever. Keep it simple, and enjoy it.
Personally, I think topiary and clipped shapes work best when they’re part of the garden as a whole, rather than decorative ornaments. Yes, they can be playful, but should fit in, not stand out, adding to a sense of landscape and place, as opposed to dominating.

Don’t leave a mess
Tidying up can be fun, or at very least easy, with the right tools.

Sharp shears are happy shears
And you’ll feel pretty good about it too.
Photo by Val Corbett
